


BESTGYM Blogs
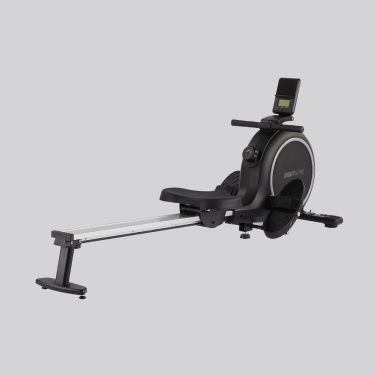
How To Set Up A Rowing Machine
Setting up a rowing machine properly is crucial for ensuring a safe, effective, and comfortable workout. Whether you are a beginner or an experienced rower, understanding how to set up a rowing machine can help you maximize performance, prevent injuries, and enjoy an efficient full-body workout.
In this detailed guide, we will cover everything you need to know about how to set up rowing machine correctly, from choosing the right location to adjusting key components and maintaining your equipment. By the end of this guide, you’ll have a complete understanding of how to prepare your rowing machine for optimal performance.
Why Proper Setup is Important
Before we get into the details of setting up a rowing machine, it’s essential to understand why proper setup matters. Many people underestimate the importance of correct adjustments, but they play a significant role in your overall rowing experience.
Here’s why taking the time to set up your rowing machine correctly is beneficial:
- Ensures Proper Form and Posture – A well-set rowing machine helps maintain correct body alignment, reducing strain on your back, shoulders, and knees.
- Maximizes Workout Efficiency – With the right setup, each rowing stroke becomes more effective, helping you burn more calories and strengthen muscles.
- Reduces Injury Risk – Poor setup can lead to improper movement patterns, increasing the risk of muscle strains, joint pain, and back injuries.
- Enhances Comfort – A well-adjusted rowing machine makes workouts smoother and more enjoyable, allowing for longer, more productive sessions.
With these benefits in mind, let’s dive into the step-by-step process of how to set up a rowing machine properly.
Step 1: Choosing the Right Location
Before you begin assembling your rowing machine, you need to decide where to place it. The right location is key to ensuring stability, safety, and convenience during your workouts.
Consider These Factors When Choosing a Location:
- Flat and Stable Surface: Place the rowing machine on a level floor to prevent wobbling. Uneven surfaces can affect rowing motion and cause discomfort.
- Adequate Space: Make sure you have at least 6–8 feet of space lengthwise and 2–3 feet on each side to accommodate full rowing strokes without restriction.
- Proper Ventilation: Working out in a well-ventilated area prevents overheating and improves breathing comfort. Position your rowing machine near a window or fan if possible.
- Good Lighting: If you plan on rowing in a dimly lit area, ensure there’s sufficient lighting so you can see the monitor and maintain proper posture.
- Floor Protection: If using the rowing machine indoors, place a rubber mat underneath to protect your floors and reduce noise, especially if you live in an apartment.
Once you’ve chosen the ideal location, you can move on to setting up the machine.
Step 2: Assembling the Rowing Machine
If your rowing machine arrives unassembled, you will need to put it together before use. While the exact assembly process varies based on the model, the general steps are as follows:
How to Assemble a Rowing Machine:
- Unbox and Organize Parts: Lay out all components and check the instruction manual to ensure all necessary parts are included.
- Attach the Rail to the Frame: The rail (where the seat moves) should be securely fastened to the central frame of the machine.
- Install the Seat: Slide the seat onto the rail, ensuring it moves smoothly along the track.
- Secure the Footrests: Attach the adjustable footrests firmly to the frame. These should be stable and positioned for proper foot placement.
- Attach the Handle and Console: Connect the rowing handle to the pulley system and attach the digital monitor if your machine has one.
- Check for Stability: Before using the machine, tighten all screws and bolts to prevent movement during workouts.
Once your rowing machine is fully assembled, it’s time to adjust the settings for your body.
Step 3: Adjusting the Footrests
Foot positioning is one of the most critical aspects of how to set up rowing machine correctly. Improper foot placement can lead to discomfort, inefficient strokes, and even injury.
How to Adjust the Footrests Properly:
- Strap Placement: The strap should go across the widest part of your foot, just above the ball of your foot. If placed too high or too low, it can cause discomfort and affect your stroke efficiency.
- Footrest Height Adjustment: Most rowing machines allow you to adjust footrest height. Your knees should be slightly bent when your feet are strapped in.
- Snug Fit: Your feet should be secured comfortably—tight enough to stay in place but not so tight that they restrict movement.
Proper foot positioning helps you generate power through your legs while reducing strain on your ankles and knees.
Step 4: Adjusting the Resistance Level
Rowing machines use different types of resistance to create varying levels of difficulty. Adjusting the resistance setting correctly is key to a balanced and effective workout.
Types of Resistance and How to Adjust Them:
- Air Resistance: Adjusted using a damper setting (higher settings for more resistance, lower for easier strokes).
- Magnetic Resistance: Controlled electronically via a digital monitor. Lower levels offer lighter resistance, while higher levels increase difficulty.
- Water Resistance: Resistance is determined by the amount of water in the tank—more water means greater resistance.
- Hydraulic Resistance: Typically adjusted manually using a knob that increases or decreases the resistance.
For beginners, it’s recommended to start with a moderate resistance setting and gradually increase as strength improves.
Step 5: Setting Up the Monitor and Workout Programs
Most modern rowing machines feature digital monitors that track important workout metrics. To get the most out of your machine, set up the monitor correctly.
Key Metrics Monitored:
- Time: Measures duration of your workout.
- Distance: Tracks how far you would row in a real-world scenario.
- Stroke Rate: Displays strokes per minute (SPM) to help maintain consistency.
- Calories Burned: Provides an estimate of energy expenditure.
- Heart Rate: If your machine has a heart rate monitor, connect it to track cardiovascular intensity.
If your rowing machine offers preset workout programs, select one that aligns with your fitness goals (e.g., endurance, HIIT, or strength training).
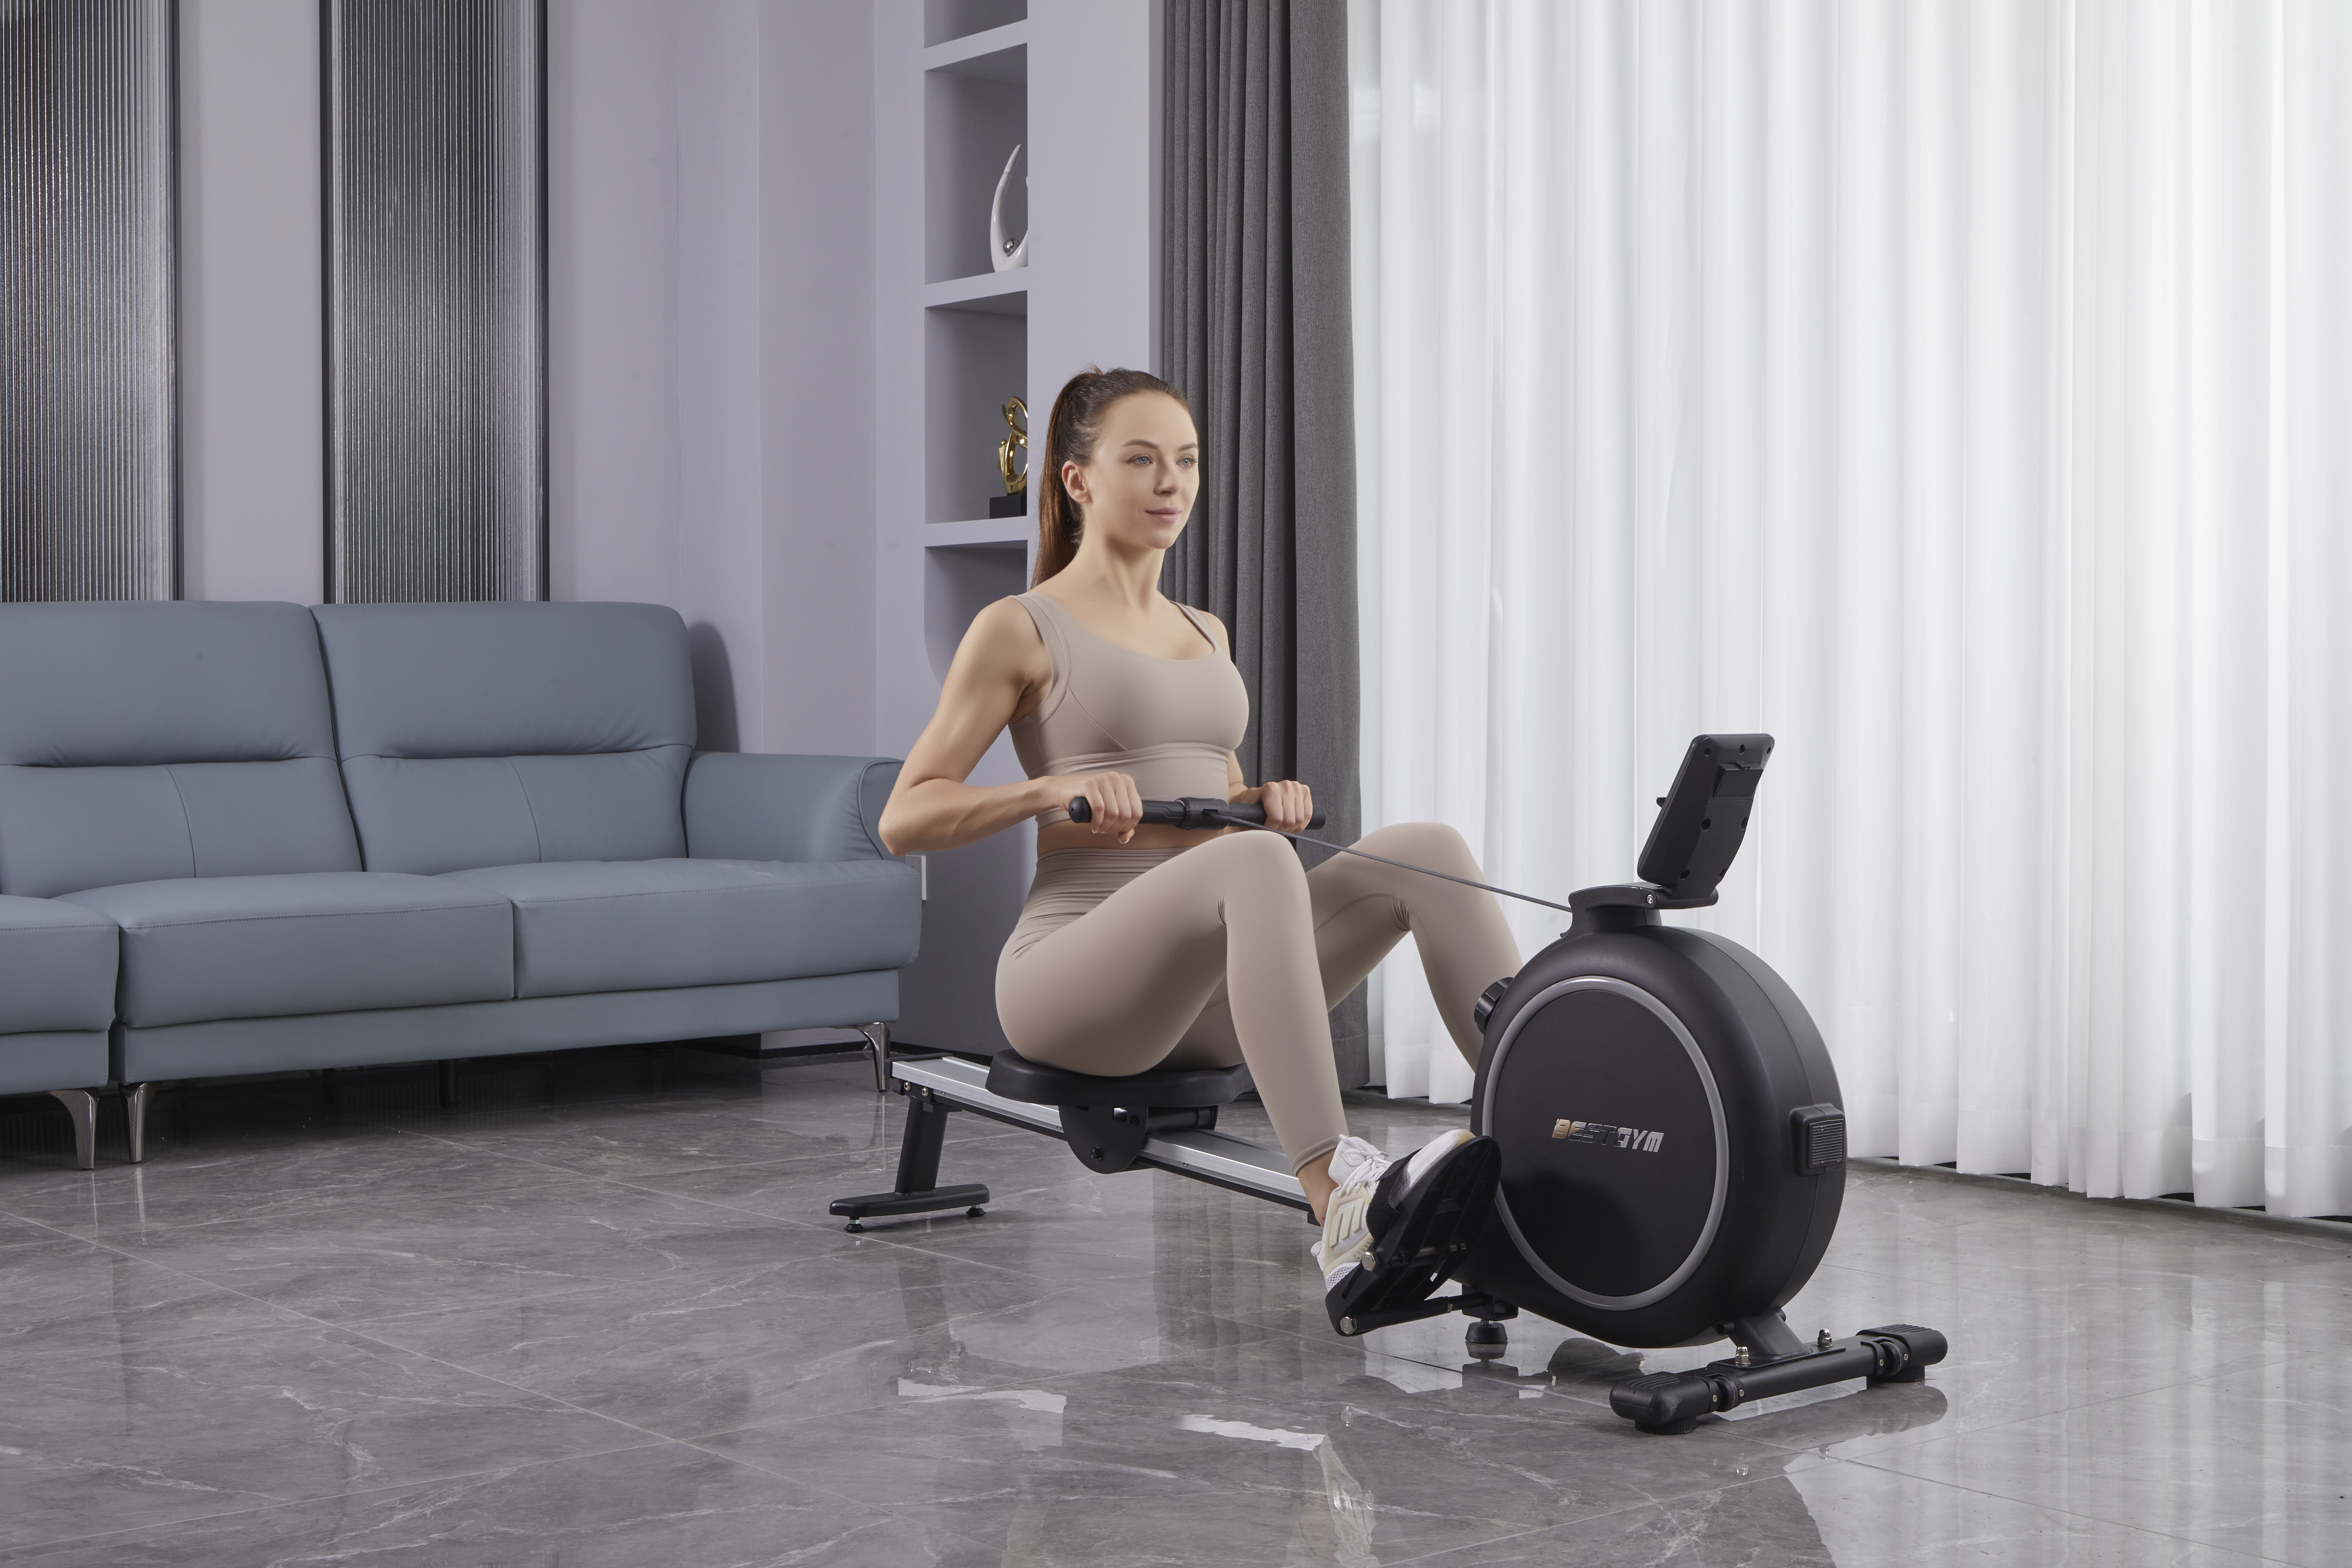
Step 6: Ensuring Proper Rowing Posture
Before you start rowing, make sure you adopt the correct posture to maximize efficiency and prevent injuries.
Proper Rowing Posture Checklist:
- Sit with your back straight and shoulders relaxed.
Engage your core muscles to support movement.
Keep a neutral spine to avoid lower back strain.
Hold the handle firmly but avoid overgripping.
Maintaining proper form enhances performance and reduces stress on joints.
Step 7: Performing the Rowing Stroke Correctly
To use your rowing machine effectively, follow the four phases of a rowing stroke:
- Catch Position: Knees bent, arms extended forward, and back straight.
- Drive Phase: Push through the legs, engage the core, and pull with the arms.
- Finish Position: Lean back slightly, legs extended, handle close to the chest.
- Recovery Phase: Extend arms forward, bend knees, and return to the catch position.
Practicing this sequence ensures an efficient and injury-free workout.
Conclusion
By following these steps, you now have a complete understanding of how to set up a rowing machine correctly. Whether you are a beginner or an experienced user, a well-adjusted rowing machine ensures better workouts, safety, and long-term durability.
Now that your rowing machine is ready, it’s time to start rowing and achieve your fitness goals!
Read More: Exercise Bike Price Comparison: Finding the Best Value for Your Budget